Science happens everywhere. HMNS is just as committed to educating outside of our halls as we are to teaching from within. Here are 10 of our favorite experiments that you and your family can enjoy from the comfort of your home.
Educator How-To: Make a Compass With a Fish. A Fish? Yes, a Fish.
During the Middle Ages, the Chinese set up several factories to produce compasses. One of the compasses produced was in the shape of a fish cut from a very thin leaf of iron — so thin that it could float on water by taking advantage of surface tension. The fish was then stroked against a lodestone until it was magnetized. When placed in the water, it would turn until its head pointed south and its tail pointed north.
What You’ll Need:
pen or Sharpie • permanent markers in bright colors • scissors • strong magnets • large gauge metal yarn needle • flat piece of Styrofoam • large bowl • water •

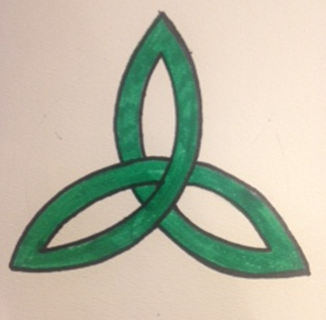
Educator How-to: Learn to Draw a Celtic Triquetra
The historical Celts, a diverse group of tribal societies in Iron Age Europe, used a three-cornered symbol, known as the triquetra, to adorn everyday items and important ritual objects. Similar tri-cornered symbols are seen in the artwork of many ancient civilizations. It is speculated that the symbol illustrates the uniting of the past, present, and future or birth, life, death. As Christianity spread through Europe, the triquetra was used to help new converts to understand the concept of the Trinity.
What You’ll Need:
paper • compass • eraser • markers
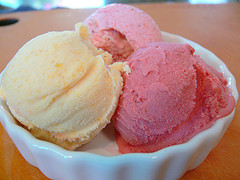
Chemistry in the Kitchen: The Science Behind Ice Cream
Legend has it that the Roman emperor Nero discovered ice cream. Runners brought snow from the mountains to make the first ice cream. Making ice cream at home is easy – no mountain marathon required! Just read the instructions below and enjoy your very own homemade ice cream.
What You’ll Need:
sugar • milk • vanilla • rock salt • pint-size baggies – heavy duty • gallon-size baggies – heavy duty • measuring cup • measuring spoons • spoons
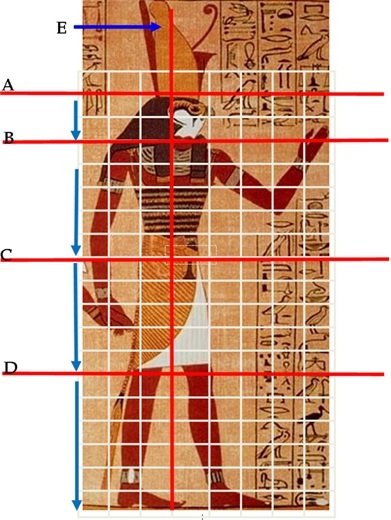
Educator How-to: Create Your Own Ancient Egyptian Art Using Frontalism
Ancient Egyptian artists adhered to strict rules when producing works of art. The human form was depicted with the head in profile, eye drawn in full, torso forward-facing, and legs in profile — one foot in front of the other. This style, known as frontalism, gave the figures a sense of formality. Whether standing or sitting, the subjects appear rigid in pose: gaze set, body stiff.
What You’ll Need:
grid paper • pen or pencil
Educator How-to: Teach Archaeology with Edible Excavation
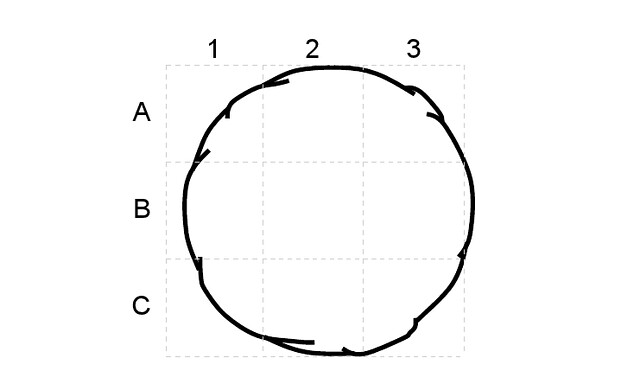
Archaeologists keep careful records, as do all scientists. One important way to keep track of their work is by mapping where each artifact is discovered. Show your students how to plot artifact locations onto a grid with this tasty activity!
What You’ll Need:
large chocolate chip cookies with lots of chips • toothpicks • waxed paper sheets • cookie grid • markers • masking tape • Ziploc bags
Educator How-to: Create Your Own Medieval ID with Basic Heraldry
Heraldry is a unique identification system developed in the Middle Ages to aid in the identification of fully armored knights on the battle or tournament field. The roots of heraldry lay in the insignia, seals, and symbols used in ancient times for individual and/or national identification purposes.
What You’ll Need:
printer (or stellar tracing abilities) • pen or pencil • markers • ruler
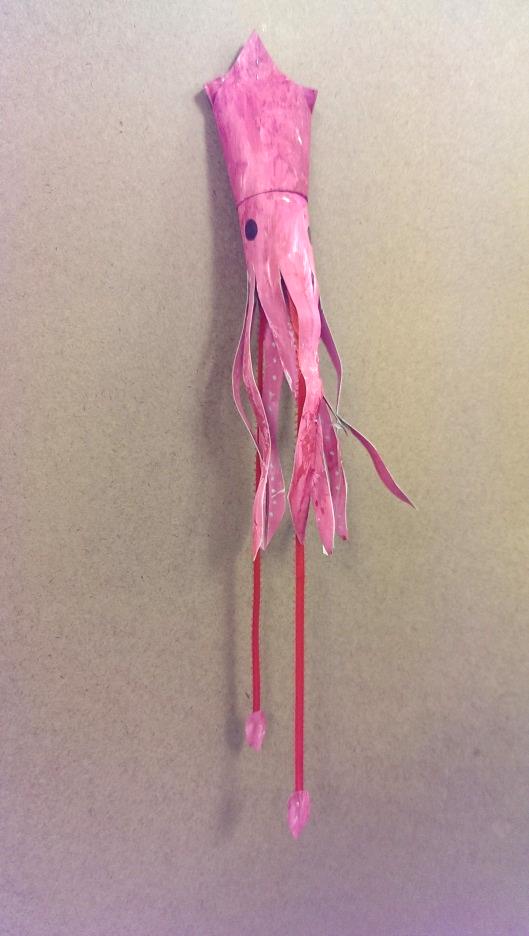
How to Make Your Own Pet Squid
This results of this tutorial were originally used to decorate a Cephalopod Christmas tree, but these adorable squid make great pets year-round.
What You’ll Need:
paper towel tube • toilet paper tube • paint • paint brush • scissors • string, yarn or thin ribbon • tape • straw • glue • black permanent marker • stapler
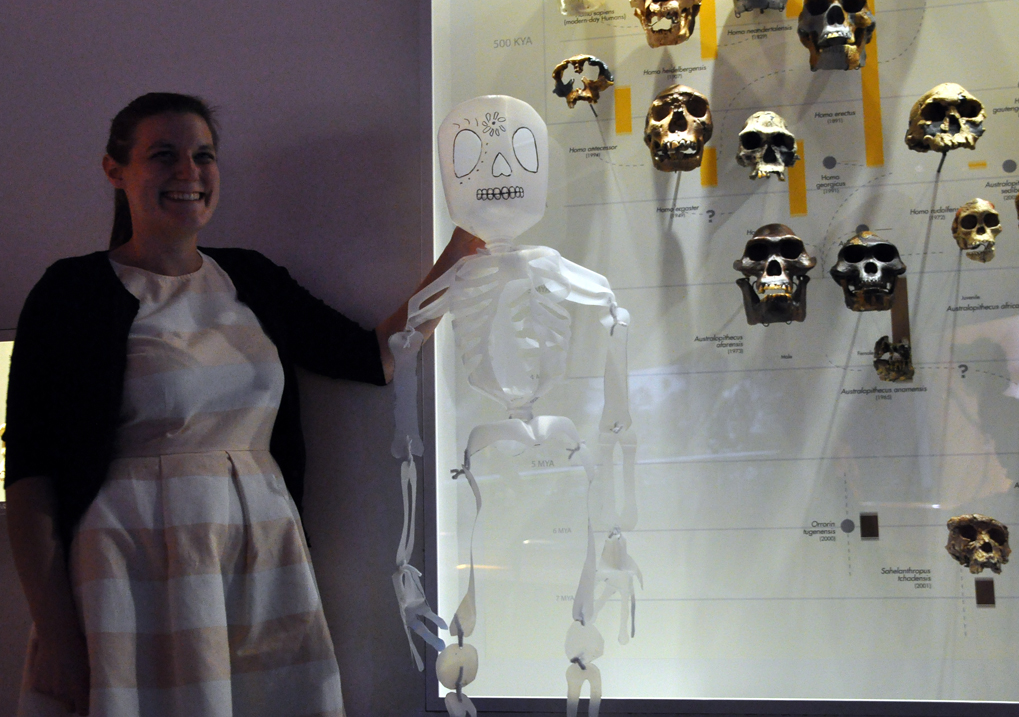
How To Make a Spooky Skeleton Out Of Recycled Milk Jugs
Eyeing that growing pile of recyclables? Turn trash into science treasure by making a milk jug skeleton. Up your science game by adding some details with permanent marker and labeling the bones!
Using recycled gallon and half-gallon milk jugs and some other simple materials, you can make your own reusable skeleton decoration to hang in your tree or around the house for spook season. Read through this easy procedure and watch our how-to videos for a clear example. Make one or make several, depending on how much milk your family drinks or how big that pile or recyclables is!
What You’ll Need:
9 plastic jugs • scissors • hole punch • string, brads or pipe cleaners • Sharpies or paint • decorative bits (glitter, sequins, buttons, etc.) • high-temperature glue gun (optional)
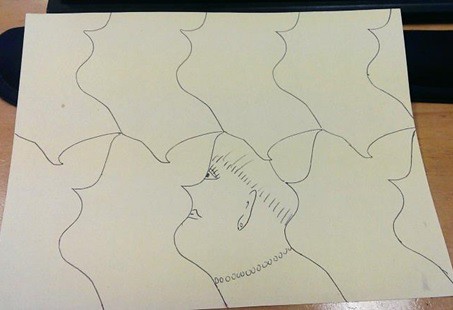
Teaching Tessellation, Symmetry & Point Reflection
This one’s for the folks who might not have a lot of craft supplies at home. All you need is scotch tape, scissors and index cards to experiment with tessellations. Tessellations are arrangements of shapes that fit closely together. These simple polygons can be transformed into beautiful artworks!
What You’ll Need:
plain 3″ x 5″ index cards • scissors • scotch tape • blank white paper • colored pencils/crayons (optional)
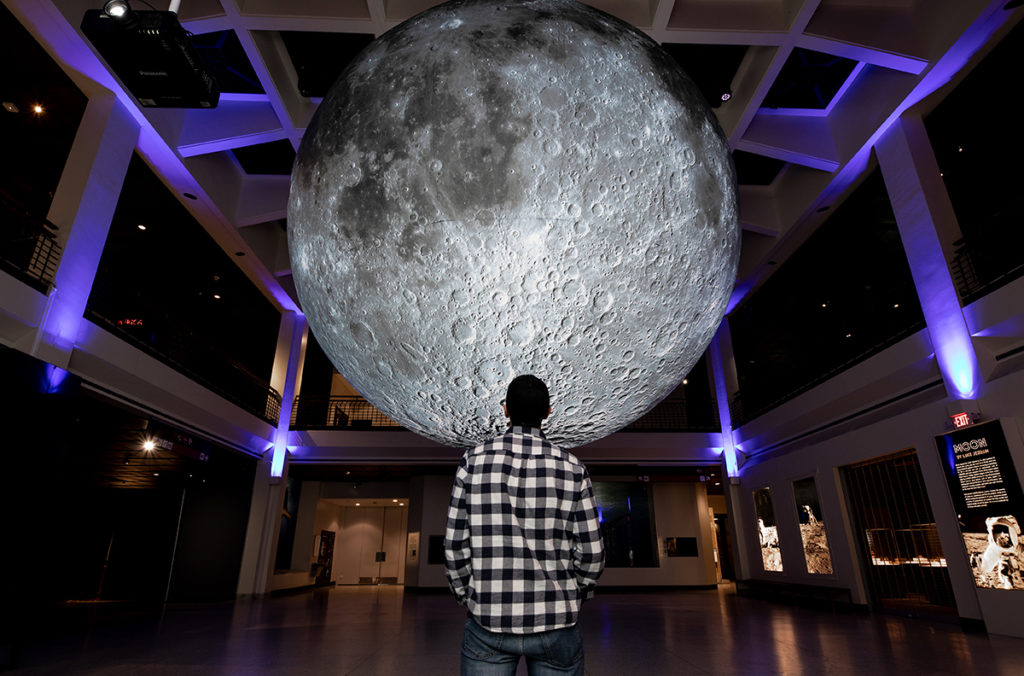
We’ll See You On the Dark (and Light and Far) Side of the Moon
We’re going celestial with a phases of the moon demonstration. The phases of the moon is an important concept that students must understand. After years of experience, we here at the Museum have refined this activity that teaches the concept easily.
What You’ll Need:
overhead light • light colored ball
Though our physical doors are closed March 17 – 27, 2020, our virtual doors remain open. Finding ways to creatively bring science to you is our highest priority. Your contributions matter today more than ever, as we strive to continue full pay for staff during this time and ensure that the museum is ready and able to welcome you back. Please GIVE TODAY to help support our mission of science education.
HMNS at Home is presented by Mitsubishi Corporation

