Halloween requires skeletons. (And so does El Dia de los Muertos, for that matter…) If you’re on a budget but like to decorate, or you’re crazy about recycling, or you’re the crafty type who loves to add custom flair to everything, or you just want to see if you can do it, we’ve got a project for you!
Using recycled gallon and half-gallon milk jugs and some other simple materials, you can make your own reusable skeleton decoration to hang in your tree or around the house for spook season. Read through this easy procedure and watch our how-to videos for a clear example. Make one or make several, depending on how much milk your family drinks…
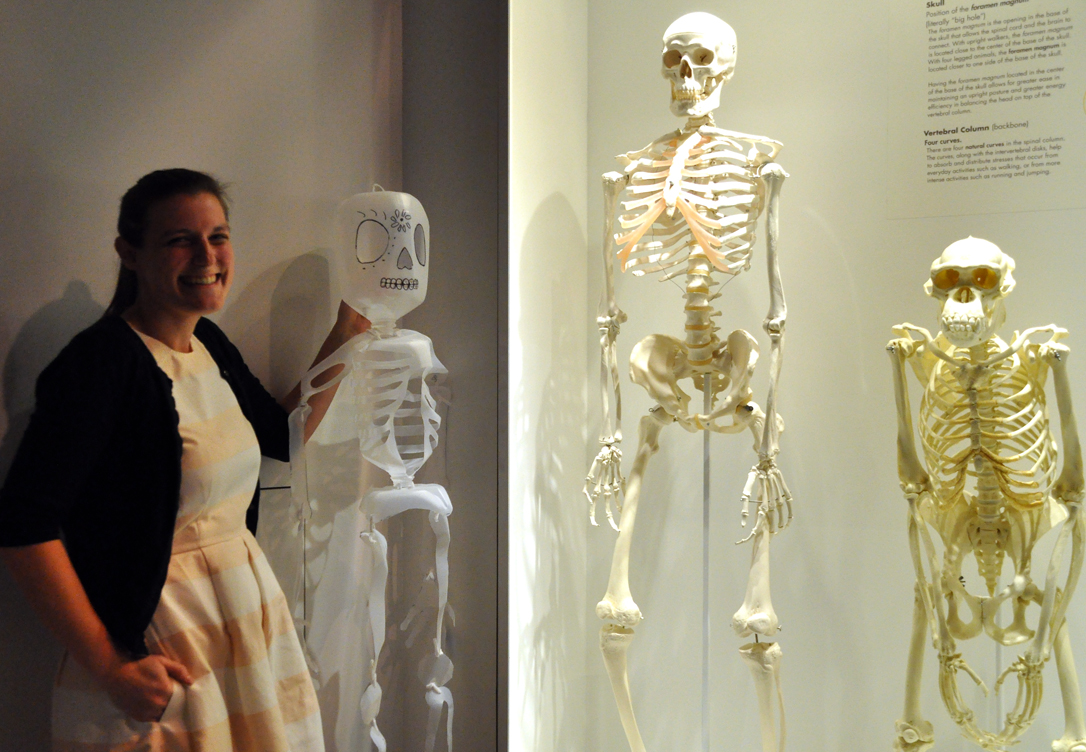
This homemade decoration is almost like the real thing! Photo by: Jason Schaefer
Materials:
A minimum of nine plastic jugs – at least three of them gallon-sized
Scissors
Hole punch
String, brads or pipe cleaners
Sharpie permanent markers or paint
Decorative bits (glitter, sequins, buttons, etc.)
Optional – High-temperature glue gun for punching holes
Procedure:
Three notes before you get started:
- If you are making a second skeleton, you can probably use your jugs more efficiently than listed here and therefore need less. If you are making this skeleton for the first time, I have asked you to provide 9 jugs (at least three of them being gallon-sized) so that you don’t have to work quite so hard to get a completed product.
- The high-temperature glue gun works FABULOUSLY for punching the holes in the milk carton plastic, but I don’t recommend this method if you are a) working with younger children or are b) me because I absolutely burned myself. If you can get a volunteer in, they can sit and make the holes for the students pretty quickly.
- If you are nervous about what you are doing, you can always sketch out your pieces with a Sharpie. Once you have them the way you want them, use rubbing alcohol to remove the Sharpie lines.
- Lay your hand or a template of a hand over the handle of one milk jug and trace. Reverse the template or use your other hand for the second milk jug. Carefully cut the hands out. Save the extra bits.
- Repeat step one for the feet.
- Using a fifth and sixth jug, cut an extended oval out of jug around the handle, being as generous as you can with the oval. You can always trim it later! These will be the shoulder bones or scapulae. If you are clever, you can use the leftover bits to make your rib cage in step 9 as well.
- At this point, you should have two hands, two feet and two shoulder bones and a pile of left over bits.
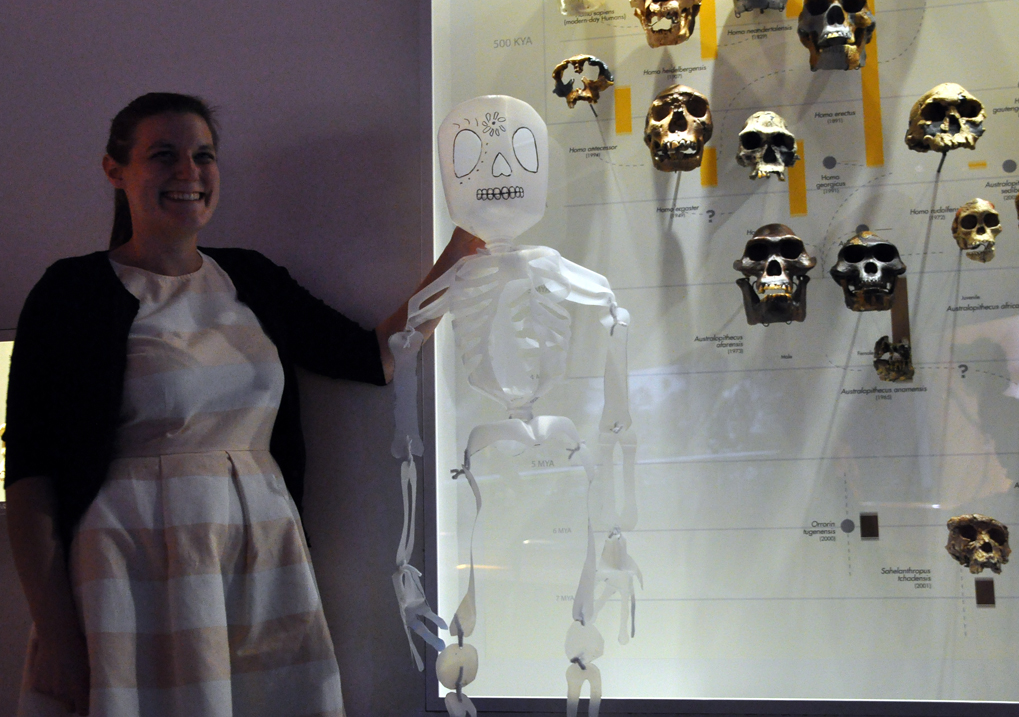
Where on the family tree would you place this skeleton? Photo by: Jason Schaefer
- Punch holes near the wrist portion of the hands and the ankle portion of the feet. Punch a hole in each end of the shoulder pieces.
- Using the leftover bits of your first six jugs, sketch out some bones. These should be basic stick shapes with lumps at each end. You will eventually need eight bones (four longer pieces for leg bones – two for each leg – and four shorter pieces for arms – two for each arm). Make them as long as possible. Once again, you can always trim them! In the example, my long leg bones crossed the jug diagonally to give them some extra length. With careful placement, I cut two long leg bones (and two knee caps) out of one of the leftover jugs.
- On a seventh jug, sketch out a skull (should consist of two large round eye sockets, an upside down heart or triangle for a nose and squares or ovals all lined up and touching for teeth). Use the two surfaces opposite the handle, and the jug should be upside-down. The neck of the jug will end up being the neck of your skull as well. You can add details as you see fit. It is also optional to cut the face out.
- Punch a hole in each side of the “neck” of your skull jug.
- Use your eighth jug to make a rib cage. You need to leave the neck of the jug as this will be the attachment point between the “hips” and the “ribs.” That being said, cut out the handle of your jug so that there is a pretty big hole on one side of the jug. This will be the front side of the rib cage. The neck and opposite side will represent the spine.
- To make the rib cage vaguely more accurate, cut some mostly horizontal strips out of the sides of the jug to leave the impression of ribs. The strips you cut out will become the empty spaces between the ribs. You will have to imagine that you are leaving a two inch vertical strip from the neck of the jug up the back to the bottom and down the front to the hole. This will act like the spine and the sternum. The horizontal strips you cut out should leave the two inch vertical strip intact.
- To make connection spots for the ribcage portion, cut two slits in the bottom of the jug on each side of the center. Then punch a hole on either side of each slit (for four holes total). Then punch two holes in the neck of the jug. If you are looking into the hole you created when you removed the handle, you will punch the one hole on the left of the neck and one hole on the right of the neck.
- To make hips, cut off the bottom of a ninth jug about two or three inches up. The example has a reinforced ring of plastic around the bottom and that was used to approximate the cuts. Round the corners of the jug and make the sides dip closer to the bottom of the jug.
- Punch holes in two opposite corners of the “hips.”
- Cut a slit in the bottom of the “hip” piece and then punch two holes on either side of each slit (for four holes total). This is where you will attach your rib cage.
- Cut out two rounded corner squares from whatever leftover bits you have. These will be the kneecaps of your skeleton. Punch two holes in each that are opposite of each other.
- After you have everything cut out, you can make the parts interesting by drawing designs on all the bones in glow in the dark paint or Sharpie. Feel free to decorate your skeleton in either traditional Halloween or in the lighter and more decorative Dia de Los Muertos calacas style.
- Using a flat surface, align all the parts, making sure that you have the right connection holes punched out. Then connect all the parts together using the string, yarn or wire. Poke two holes in the top of the head and tie a loop that you can hang your skeleton from. From the top down, you should connect the pieces as such:
- One shoulder piece to each side of the skull jug neck. Make sure they are facing the same way.
- Tucking the ribs under the shoulder pieces so they stick out a bit, use the same skull jug neck holes to attach the rib cage. You will use the holes you created in the bottom of the rib cage jug to do this.
- Connect your arm bones to each other and then to the shoulder.
- Connect your hand to the end of the arm. Make sure they are facing the correct direction.
- Connect the hip jug (bottom only) to the neck of the rib cage jug. You will use the four holes in the hip jug to connect to the two holes in the neck of the rib cage jug.
- Connect the upper leg bones to the knee caps.
- Connect the knee caps to the lower leg bones.
- Making sure they match, connect the legs to the holes in the side of the hip jug.
- Connect the feet to the lower leg bones. Make sure they are facing the correct direction.
#ChillsAtHMNS