In my early 30’s, I first learned about proper care and maintenance for pruning tools. Not to sound dramatic, but it has changed my life. I had no idea the power that basic household white vinegar holds over a pile of derelict tools.
We all have that pair of crunchy old clippers, or that socket wrench set that’s been passed down for generations that is now more crusty than crescent. From hand trowels to tree loppers, no matter how old or how far “gone” a tool is, it can always be rehabilitated.
Before you get started you will need the following items: vinegar, WD 40, disposable gloves, and any small tools you’ll need for disassembly.
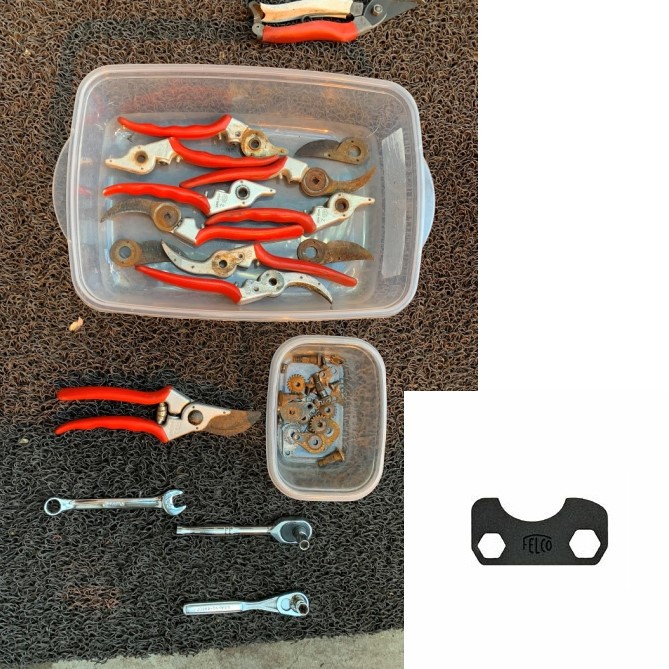
Step 1: Collect all rusty tools
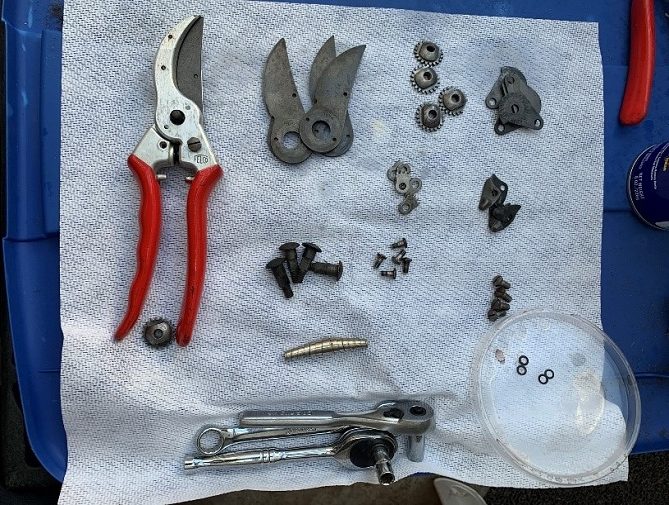
Step 2: Take apart your clippers. Felco clippers often come with a small adjustment key, but I often use a socket wrench set take apart my Felcos (See below; you will need sizes ½”, 5/16”, and 9/32” for classic Felcos) . If you have any trouble loosening parts, spray some WD40 on the area and let it sit for a few minutes and then try loosening again.
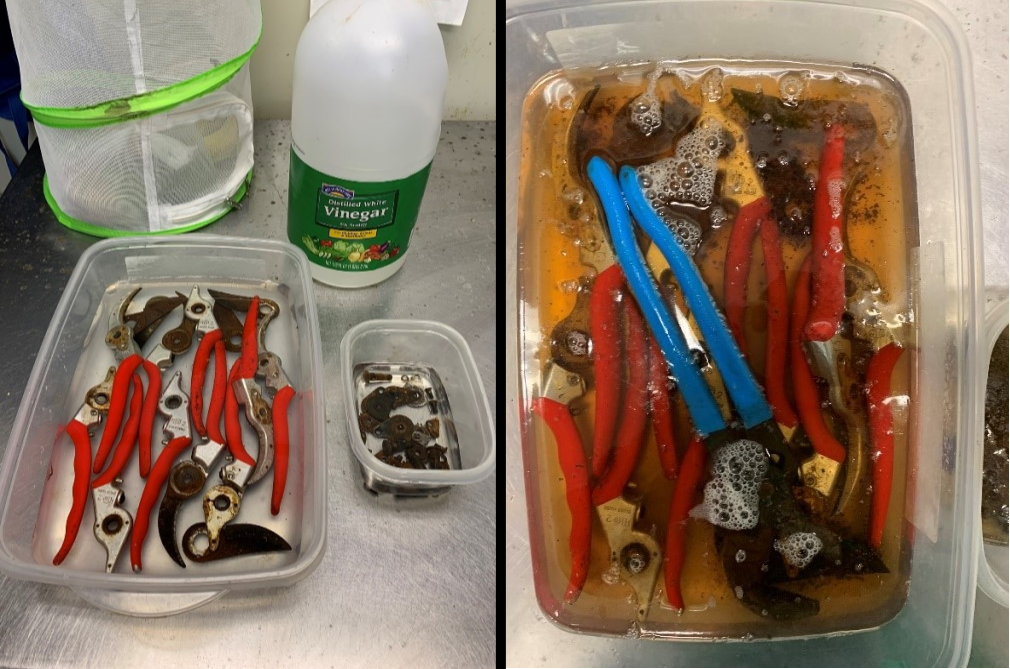
Step 3: Space out the tools in a container and fully submerge with vinegar. Put any small pieces in a separate container so that you don’t accidentally throw the baby out with the bath water later on. Leave to soak in vinegar bath overnight. Let them sit for around 24 hours, but no longer than that. The vinegar can potentially eat away at the metal if left for several days, so be sure to set a reminder! Over the next several hours you will see bubbles starting to form, that’s the power of the vinegar beginning to deep clean.
Step 4: *PUT ON DISPOSABLE GLOVES FOR THIS STEP* Tools will be covered in a black layer that will stain your hands. Carefully drain vinegar and scrub tools with an old brush and some warm water and Dawn dish soap to remove most of the black grimy residue. Dry off completely with paper towels.
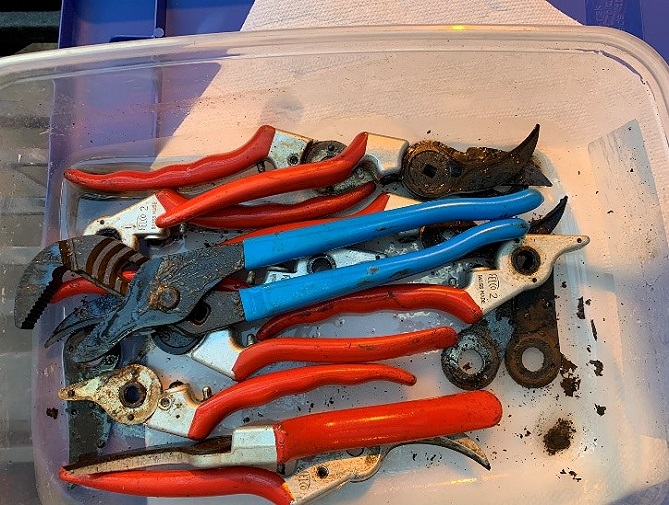
Look at that Grime!
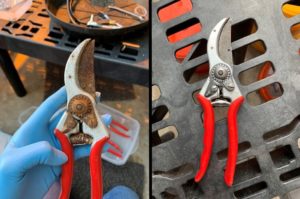
Step 5: Spray the pieces down with WD40 and use steel wool or a scouring pad to buff off any remaining rust/grime. WD40 is borderline magical during this step, so prepare yourself to be amazed at how effectively it cleans. Give all pieces a final wipe down with a clean paper towel and reassemble parts. If any small parts need to be replaced they can be found at the manufactures website. I always keep a few fresh springs on hand, it seems to be the one part I find myself replacing most often.
If you started with a tool that resembled a relic from the titanic and there is lingering rust residual, do a second round vinegar soak for another 24 hours and pick back up at Step 4.
BONUS ROUND: TIME TO SHARPEN!
Use a sharpening stone to give your dull blades new life. Remember to always clean tools with a Clorox wipe and a spray of WD40 when putting away for the day. This keeps possible plant vectors from spreading and will also keep your pruners in better condition for a longer period.
Have fun starting a new annual tradition of turning rusty back into trusty. Your tools will thank you!
Further reading from our Cockrell Butterfly Center experts:
Fill in the Blanks with Horticulturist Theresa Lancaster