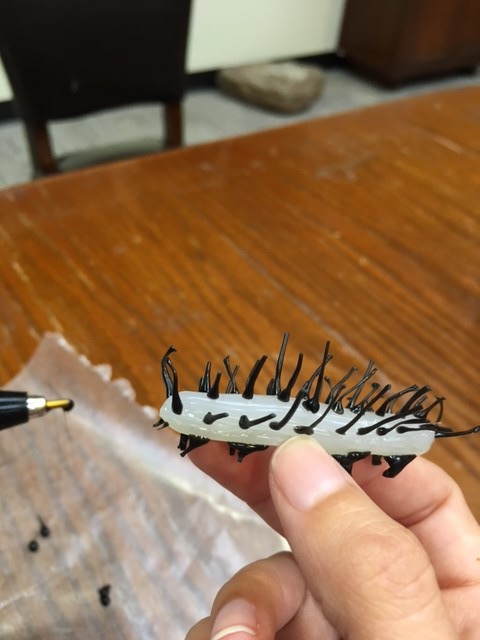
It seems a strange mix, but hot glue is a wonderful medium to work into a caterpillar design.
Materials:
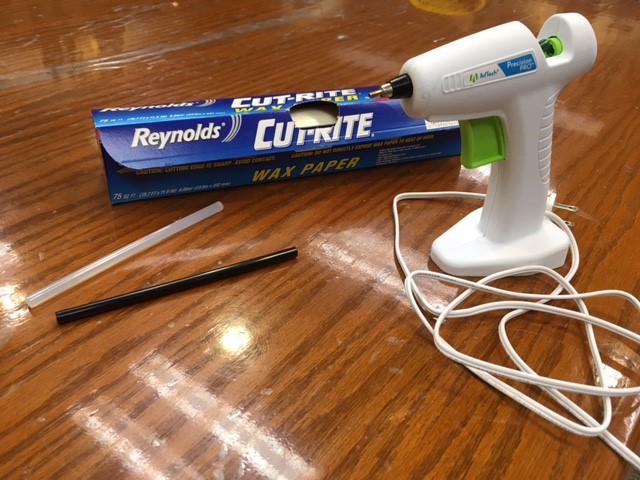
– Hot glue gun
– Wax paper
– Colored glue sticks
– Scissors (optional)
**Note: I use a fine tip glue gun. You can probably do the same with a regular tip. You will just need a steady hand.**
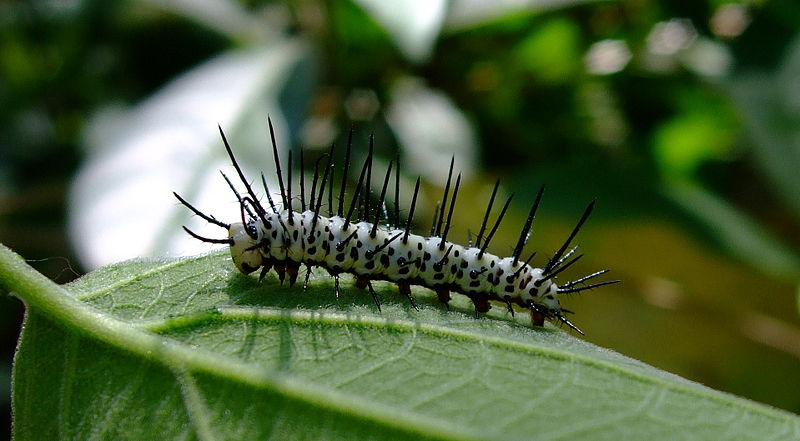
A Zebra Longwing (Heliconius charitonius) caterpillar. Author: DeadEyeArrow. Source: Wikimedia Commons
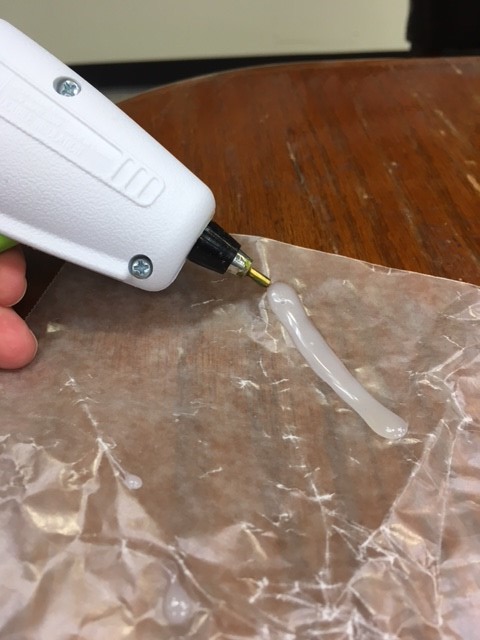
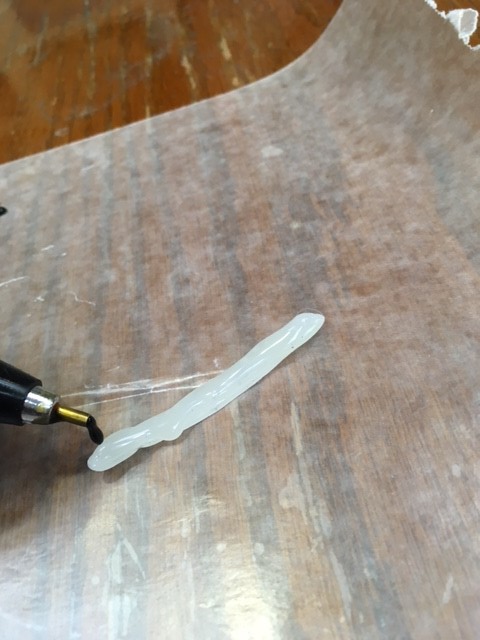
First, lay out a sheet of wax paper to catch drips and to work upon. When the glue is hot enough, lay a thin strip of your base color to the size you want on the wax paper. I’m making a Zebra Longwing caterpillar that is white with black spines, so I’m beginning with a white base.
Give that a few seconds to cool a bit, and then lay another on top the previous to build up a more three dimensional look.
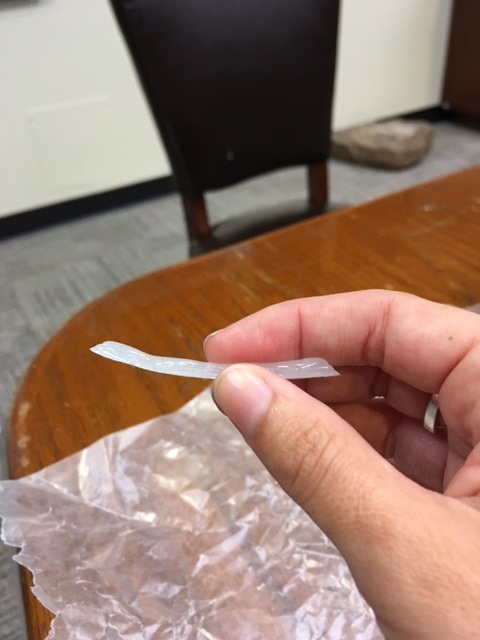
When it gets to the size you want dimensionally, let it cool, and pull it off the wax paper. It will be flat on the bottom, and have some residue left of the wax paper. You can leave it, or carefully put a strip of glue across the bottom to cover over and give a rounded look to the caterpillar.
You will next have to change colors. This will require either clearing out the previous color in the glue gun, or else have a second glue gun handy.
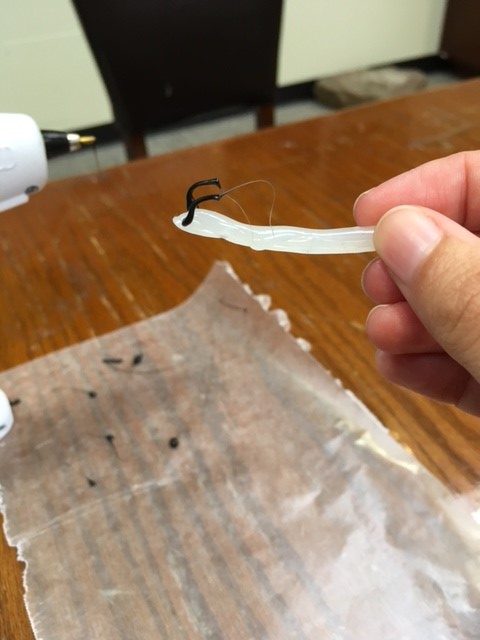
When it’s to temperature, dab just a drop of the accent color (black, in this case) on one side. This is the delicate part: quickly turn over the caterpillar, touch the soft drop of glue and slowly pull the glue away from the core piece. It helps to blow softly on it to get it to set a bit quicker. Do the same thing again, next to the original, and you have the antennae.
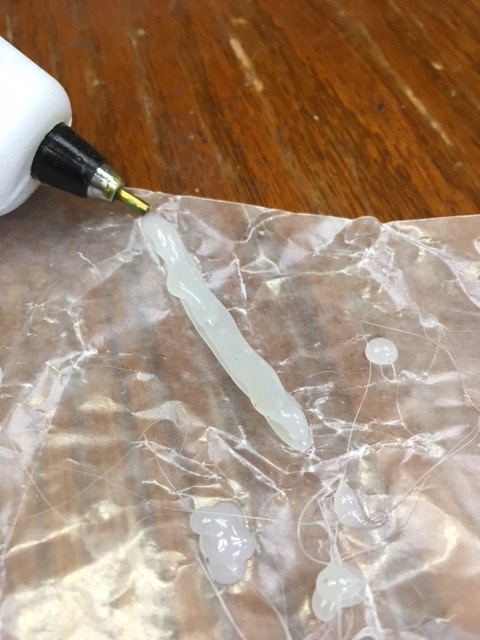
As the picture shows, there are very regularly little strings of extra glue hanging everywhere as you go. I often work around them, but you can just snip them off with a pair of scissors if they get in your way.
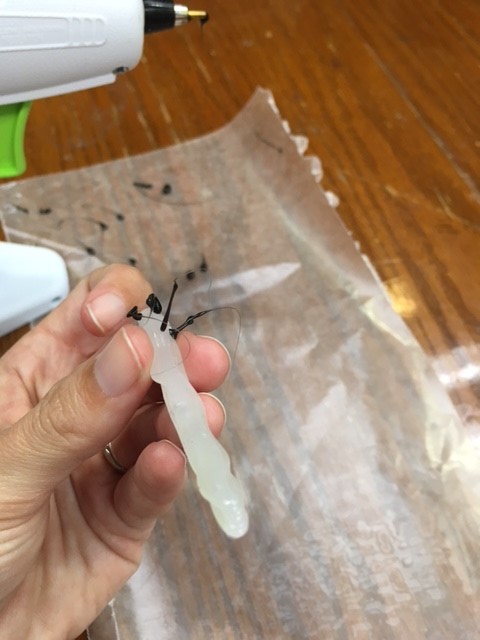
Next, for the rest of the spines, they often appear in rows of four down the back of the real caterpillar, so I replicate that with the glue.
It’s best to make each drop as even as possible so that they will be the same size when you pull them, but it is difficult to do. However, the nice thing is that you can adjust them afterward. It looks cool to snip them in ranging sizes as well, if you wish.
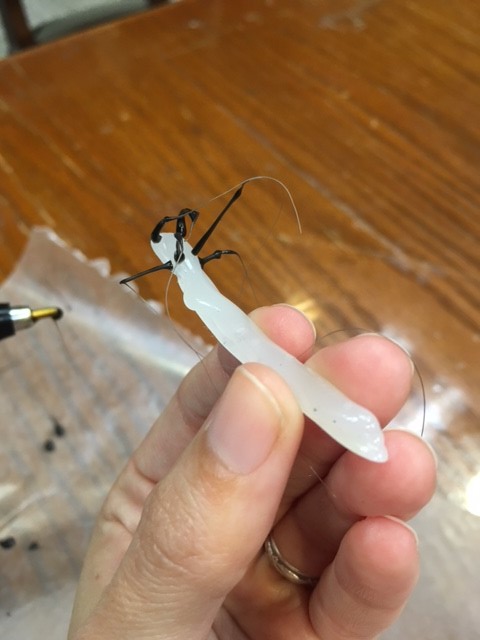
As you go, you can also turn over and drip a double-width drop of glue on the side opposite of the spines, and create feet.
Before you know it, it will be finished and look like this:
Happy creating!


