

HMNS may be known for its gigantic objects, like towering T. rexes, giant geodes and of course, our 23-ft diameter sculpture, Moon by Luke Jerram. But for every showstopping giant, there are plenty of minute specimens with big scientific value! For example, some of the shells in our newly renovated George W. Strake Hall of Malacology shells are as small as skittles. As the museum’s photographer, it’s my job to capture these tiny wonders, but focusing on such small objects can be a huge challenge. That’s why I’ve been experimenting with a technique called focus stacking.
Before we talk about focus stacking, we need to first discuss depth of field. Depth of field (the area of an image that is in focus) is a crucial aspect of photography. We use depth of field to highlight or showcase what we think is important in an image. Depth of field is determined by how we set our aperture, the focal range of the lens and how close our camera is to the scene or subject. Are you snoozing yet? Stay with me now! We can, somewhat control how much depth of field we have, but not fully. For example, when shooting macro photography, depth of field becomes an issue. After all, the closer your camera is to a subject or scene, the LESS depth of field you have. We are talking about having mere millimeters of depth of field when doing close up macro photography. That can be a real problem when trying to show the entire subject in focus. So what’s the fix?
What if I told you there was a way to take several images of the same scene or subject, all at different depths of field and blend them into one super sharp, high detail image? Then, what if I told you that all you needed was a decent tripod and Adobe Photoshop? Finally, what if I told you this technique was actually easy to do? Well guess what? That’s exactly what I’m telling you! This technique is called Focus Stacking and I have fallen in love with the results.
This game changing technique doesn’t just blend the images together; it blends the depth of field from each image. It takes the area that is in focus from each photo in the series and merges them together giving you a larger or wider area of focus. The possibilities are endless!
- Use a tripod and shoot using self-timer to minimize any camera movement. You want to be as steady as possible throughout the session so the images can be easily aligned in Photoshop.
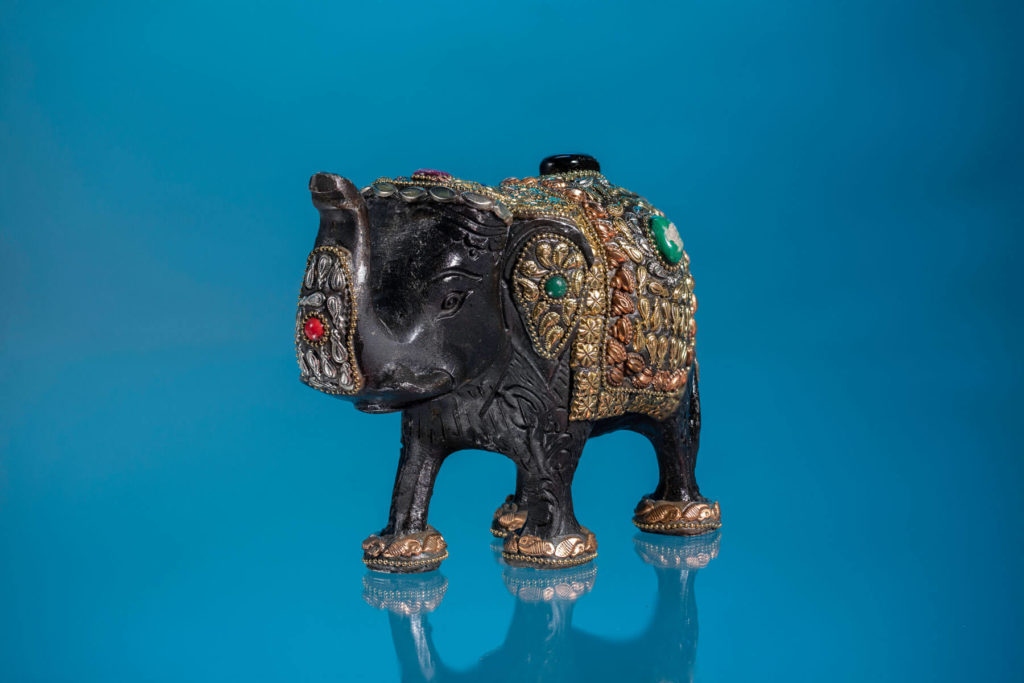
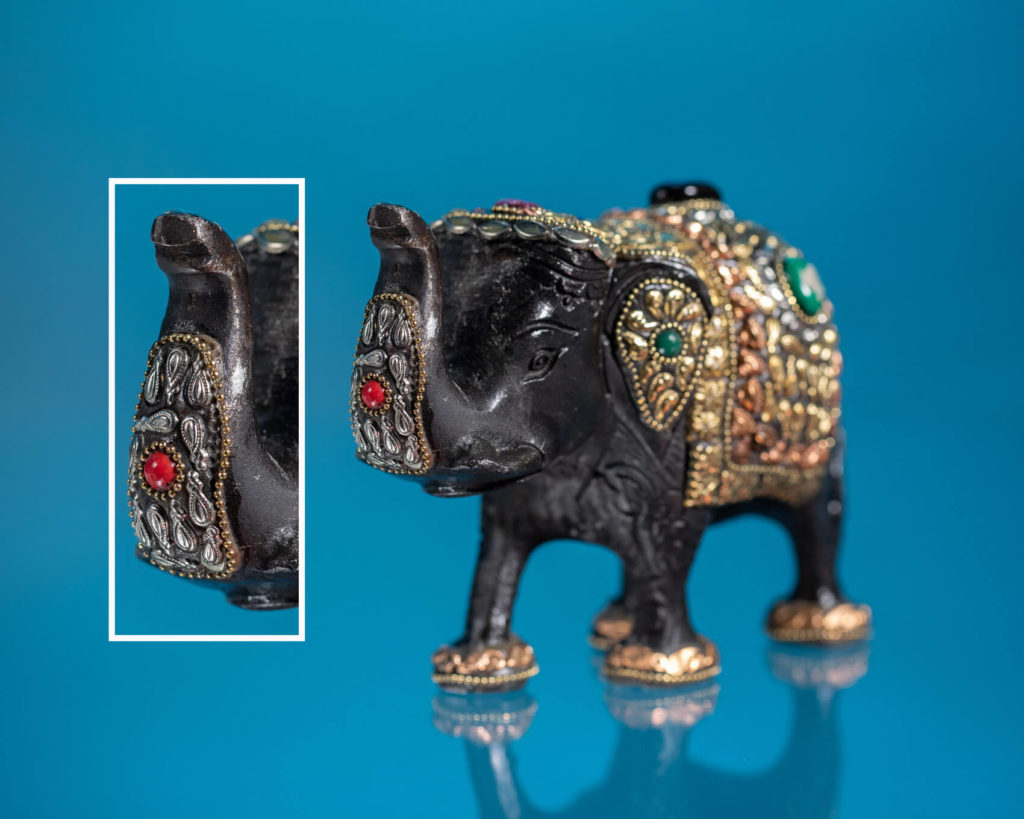
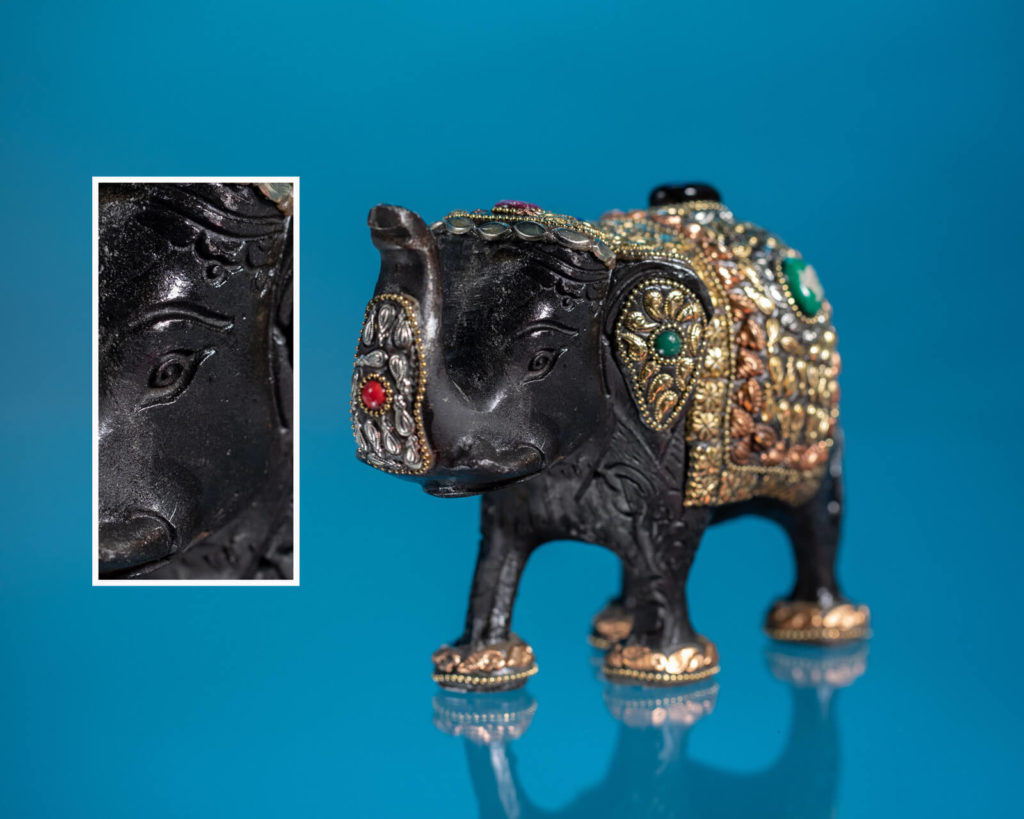
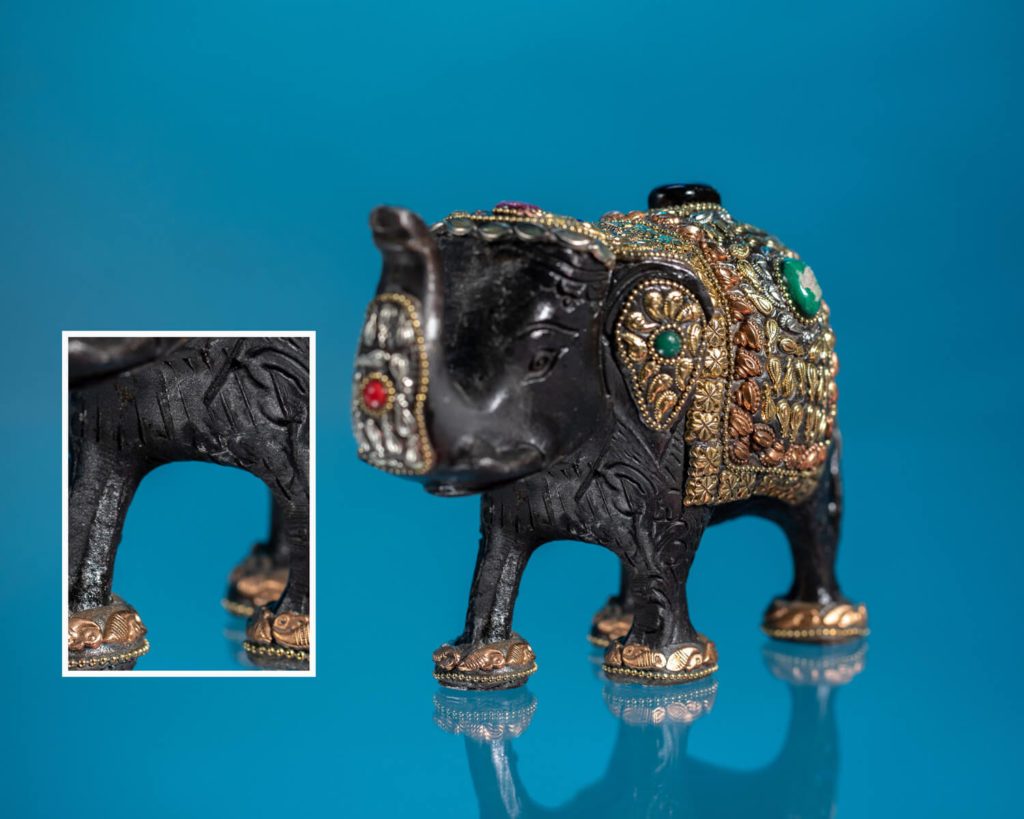
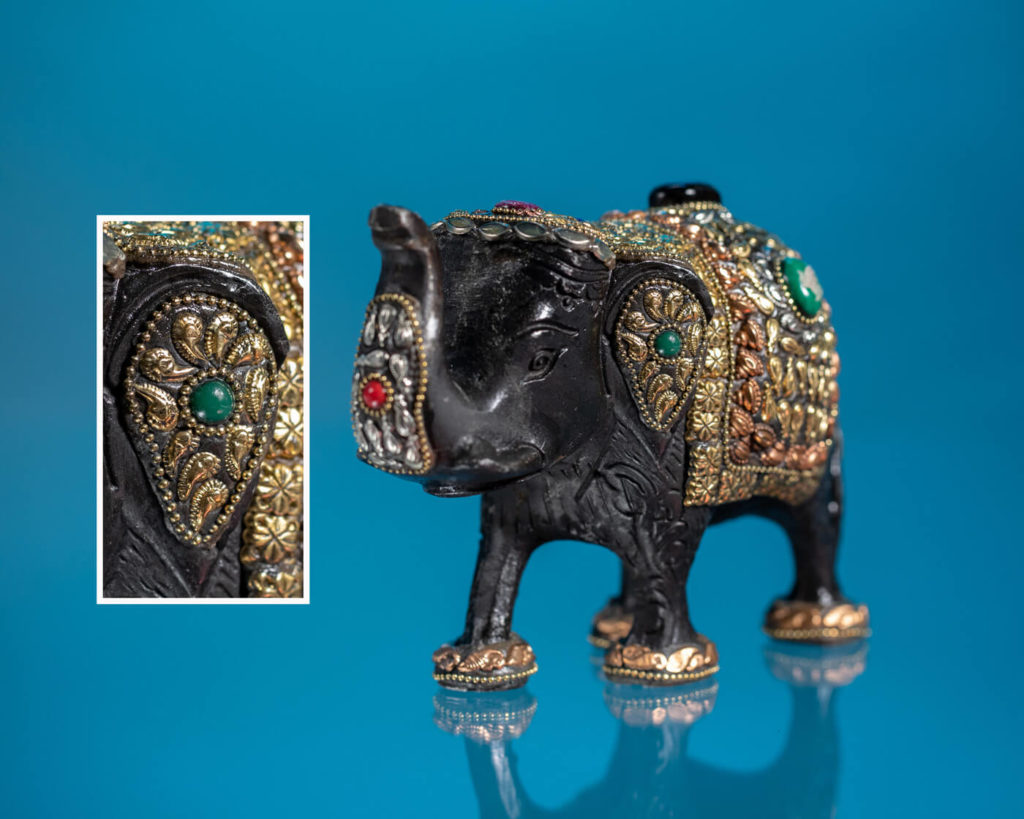
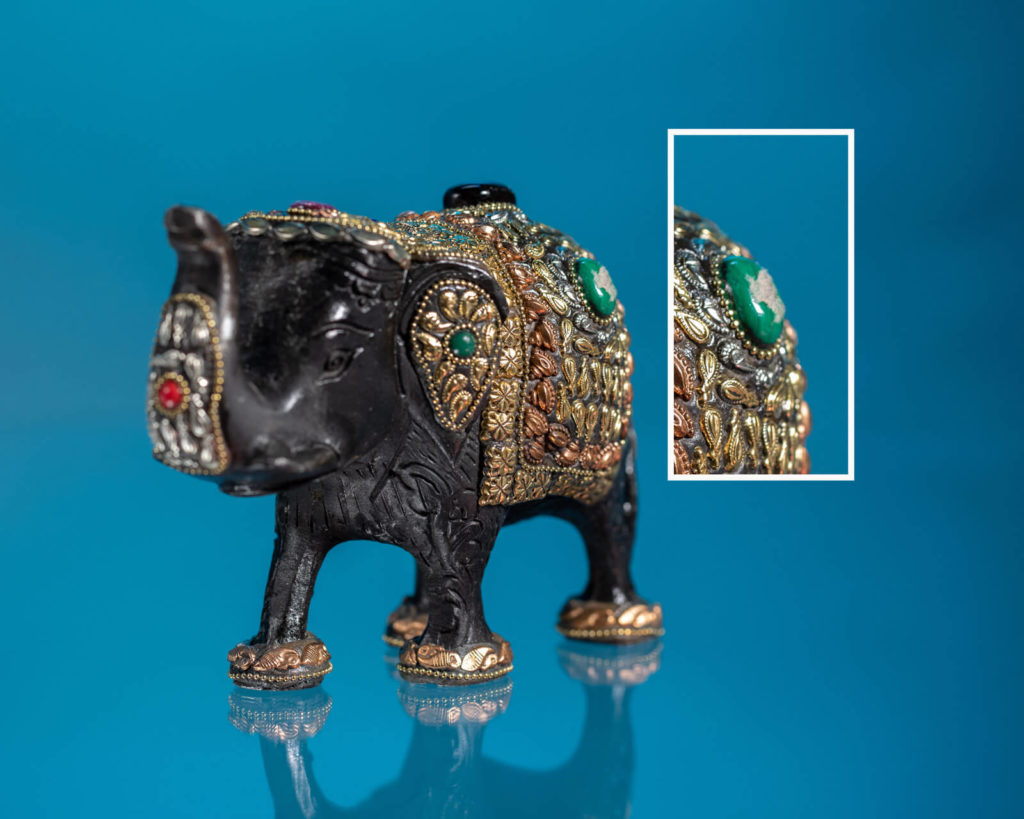
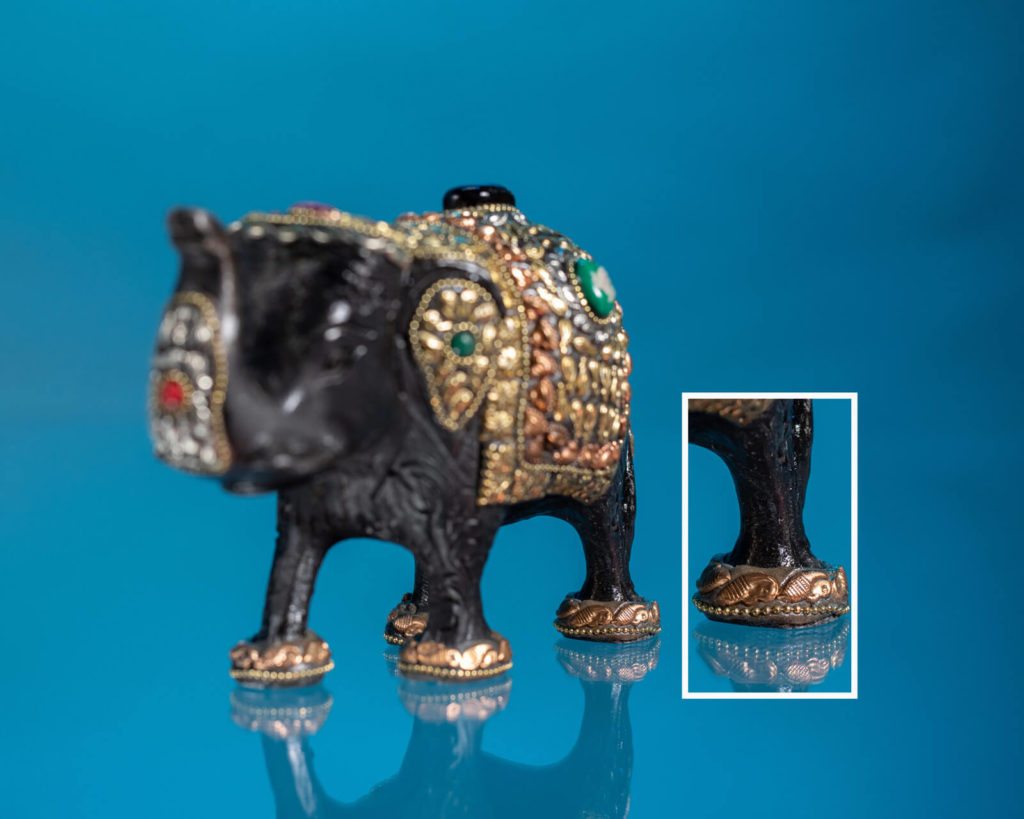
- Use manual focus to accurately achieve the different areas of focus you want. I start at the front of the subject or scene and work to the back (or furthest area). Pictured below, I photographed a souvenir elephant from India that my boss gave me. I shot 16 images of the elephant, all with different points of focus from trunk to rear (stay classy people). I only included 6 of the images to keep things tidy for the demonstration.
Okay then, let’s learn how it works. The process starts “in the field” or “in the studio” when you are taking the photos. Here is a step by step break down of the photo taking portion of the process:
Sweet! The field work is done and now you get to sit comfortably in your chair and do some cool editing tricks. After you import the sequence make sure to copy and paste any of your basic images adjustments BEFORE loading the sequence into Photoshop.
Focus Stacking: Step-by-Step
Here is the step by step for the Photoshop portion of the process:
- In Photoshop go to File > Scripts > Load files into Stack
- Browse and locate the sequence of photos and highlight all of them > Click Okay
- Select all of the layers
- Edit > Auto Align Layers
- Edit > Auto Blend Layers
- Layer > Merge Layer Visible
- Crop your merged image to remove any problem areas around the edges
For all my visual learners out there, check out the video below.
And just like that, you have added a new trick to your bag of tricks! Since learning this process, I use it quite frequently at the museum, most recently for new interactive screens in the new George W. Strake Hall of Malacology. Focus stacking is an obvious go-to for object photography in the studio, but I also use it for wider atmospheric shots out in the halls. I recommend trying it in any situation where everything in your scene is stationary such as landscape or architectural photography.
See some of my focus stacking work in the newly renovated George W. Strake Hall of Malacology! It’s coming back with a splash on August 30 and is included with admission to the permanent exhibit hall.