Mosaics were common features, in both public spaces and private homes, in ancient Rome. Mosaics are beautiful, but also historically important. Mosaics provide a visual record, detailing everyday life, by depicting items such as food, dress, pets, and people. This common art form provides a looking glass into the past.
The mosaic below depicts several different types of gladiator, along with their trainer, called the lanista. There are several richly illustrated mosaics depicting gladiators, which have helped historians to better understand how they looked, how they were armed, and what combinations were paired together to fight.

Mosaics have provided insight into the gladiatorial games and the gladiators.
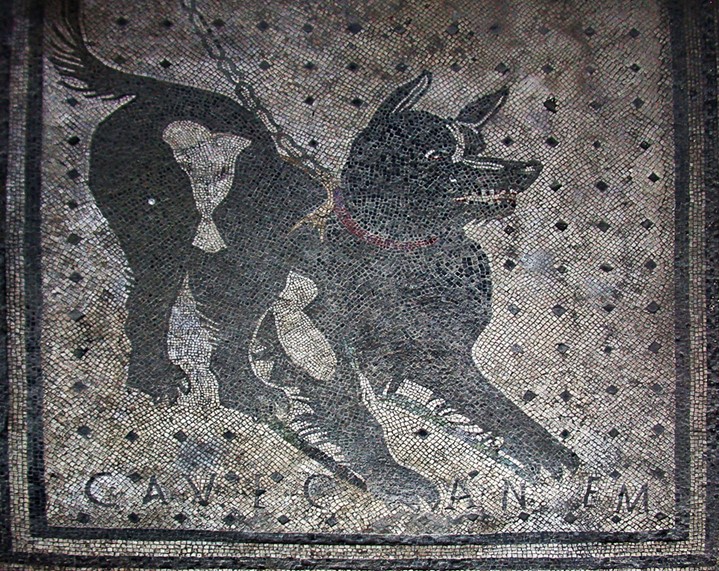
The mosaic below carries the warning, “Cave Canem” meaning beware of dog. This fierce dog has been standing guard at the entrance hall of the House of the Tragic Poet in Pompeii for close to 2000 years!

Cave Canem
Now, it’s time to try your hand at creating a mosaic!
First, gather your supplies: Scissors, paper (various colors), glue stick, cardboard, school glue, crayons, a pencil, and, paintbrush.
Second, find a picture you like to use for your mosaic. It is a good idea to pick a simple design that will be easy to reproduce on the cardboard.
Next, use a pencil to make a sketch of the design on the cardboard. Keep in mind that larger designs are easier to work with when you start to glue on the tesserae tiles).
Now, cut pieces of colored paper and use the glue stick to stick them to the cardboard in the appropriate areas. Small squares work well, but you will have to cut pieces to fit many of the odd shaped spaces.
When you are finished gluing on the tiles, use a crayon to color the spaces between the tesserae. This is similar to the grout that was used to fill the spaces between the tiles on Roman mosaics.
The last step is to seal the mosaic. Begin by mixing equal parts water and school glue. Brush the mixture over the entire mosaic. Let the mosaic dry completely. The mosaic is now protected and ready for display.


