

The invention of printmaking changed the world. Printing was invented in China between the years 618 to 906 A.D. The earliest prints were made using wooden blocks that were carved with pictures and writings.
The process wasn’t complicated, but it took great skill and time to prepare the blocks for printing. First, the text or picture was drawn on a piece of paper, which was then glued to a block of wood. The design or text was then carved into the block using a sharp instrument. When the block was finished, ink would be applied and could be used to print multiple copies.
You can create your own print block using a recycled Styrofoam takeout container and a pencil. You will need a few more supplies to make prints using your Styrofoam block. So why don’t you gather the following supplies, and we can get started.
- Scratch paper
- Pencils
- Styrofoam (make sure to wash it well, especially if you are using packaging from uncooked meat or chicken)
- Scissors
- Tempera paint
- Paint brush – foam works best
- Glue
- Toothpick
- Paper
- Paper towels
Ok, now you’re ready to get started! Let’s create your print block. There are two options:
Option One
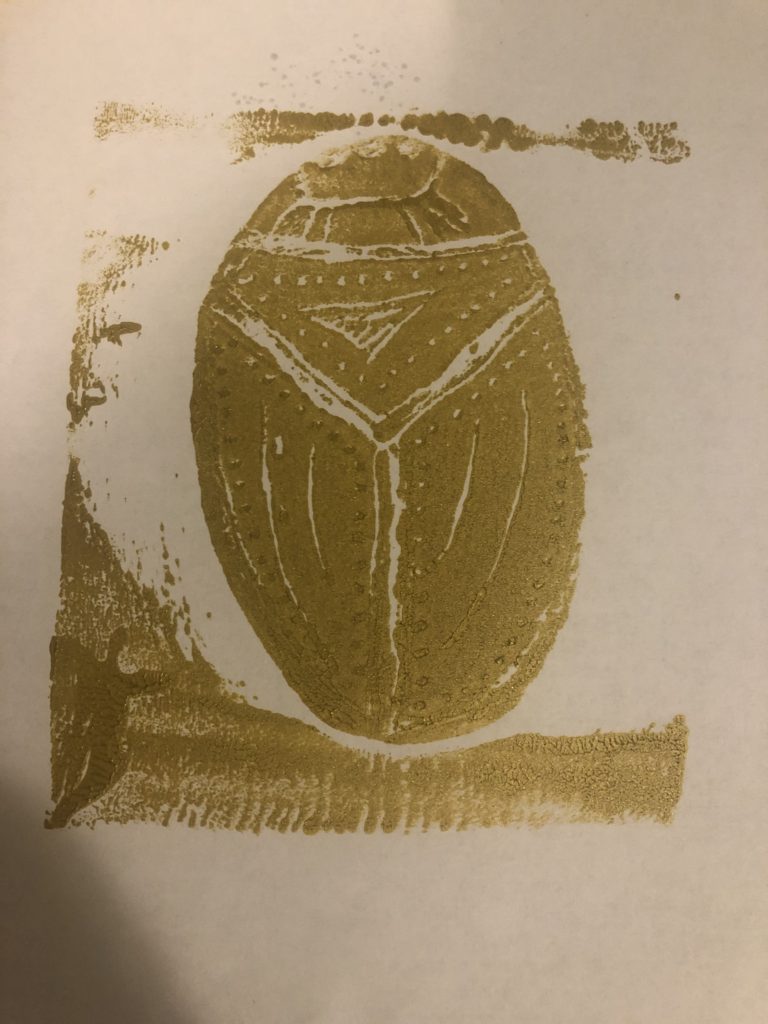
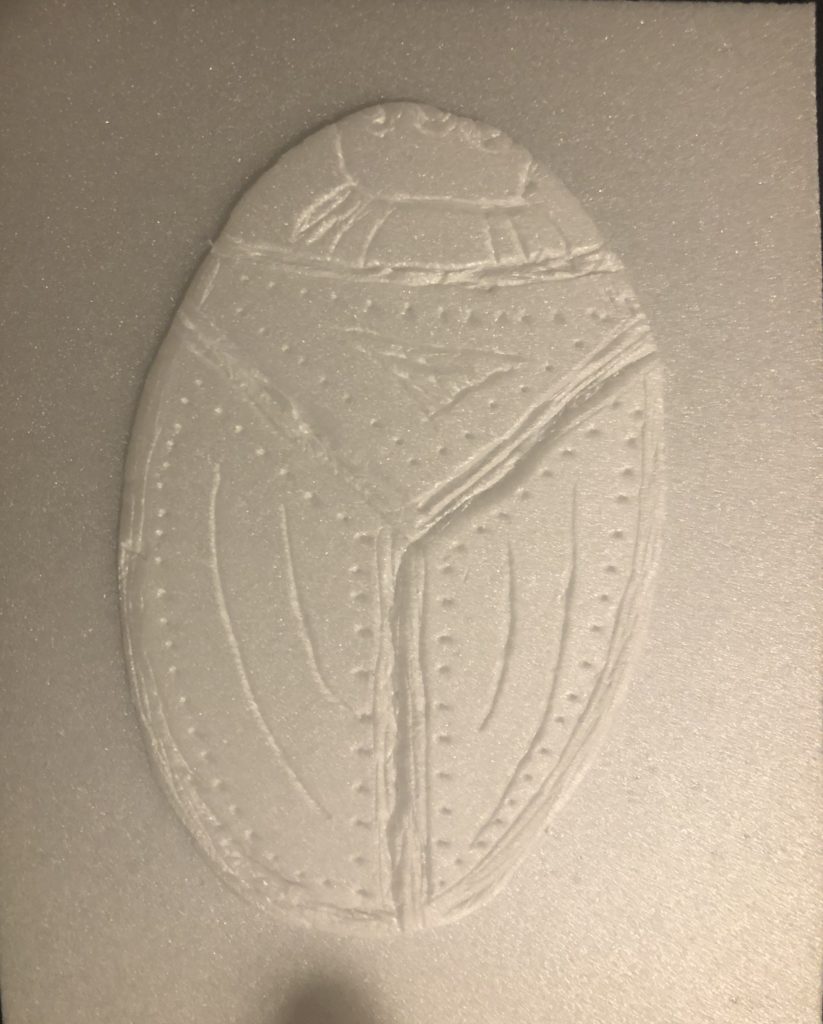
First use your scissors to trim the Styrofoam so that you have a flat, decent-sized piece. You will draw your design inside this area using a toothpick (see the picture below). Try to use as much of the area as you can, as it will make a better print. Any part that is not carved will pick up paint, and the design will remain white.
Option Two
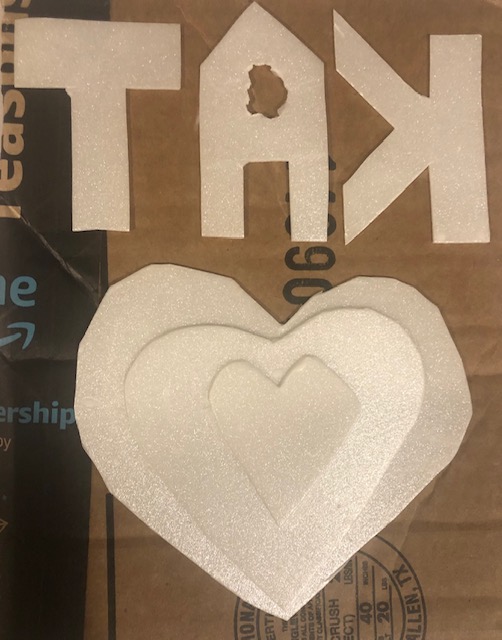
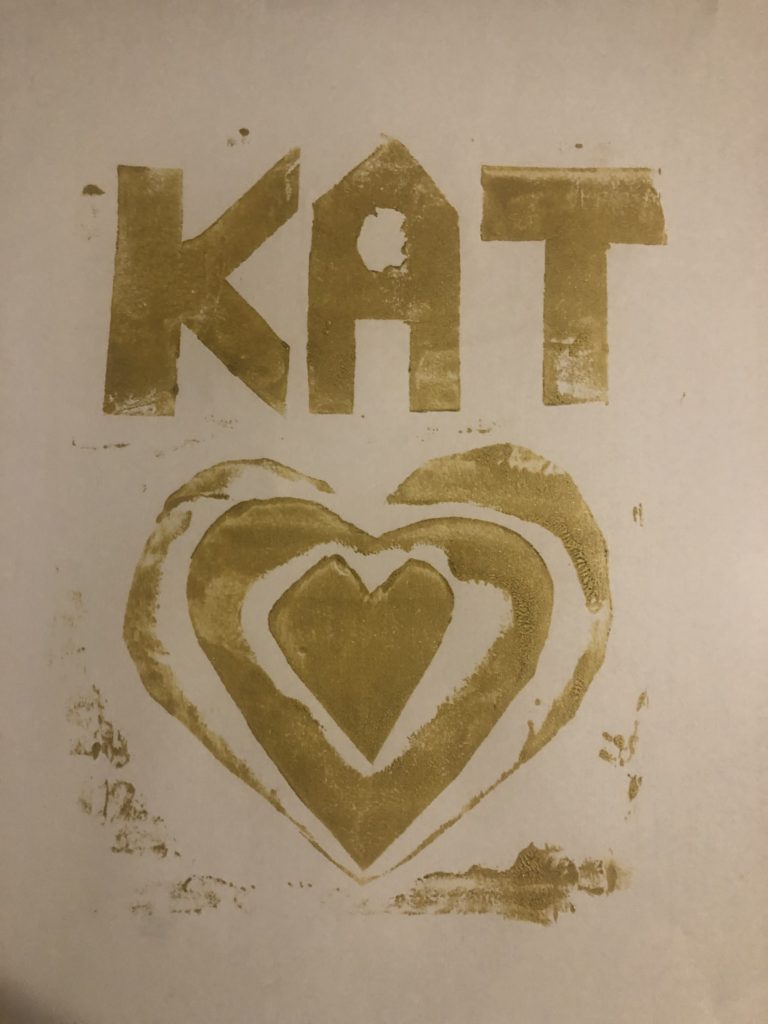
Cut out shapes and letters from the Styrofoam, and glue them to a piece of recycled cardboard. Remember that when you print, it will come out in a mirror image, so if you are using letters, you will have to arrange them in “mirror print” (see the picture below).
Now it is time to make prints! Pick the color of paint you would like, and use a brush to apply a thin layer to the entire face of your print block. More is not better at this point. You will want to protect the surface you are working on with a paper towel. Next, take a clean sheet of paper, and place it on the blocks and apply firm, even pressure to the entire print. Then, carefully pull the print and place it aside to let it dry.
See how simple it was to make a beautiful block print? Now, you can experiment with using different tools for carving the plate and different kinds of paints and inks to pull your prints. Get creative!