A Fressssssh Start To The New Year!
This year many people will be rummaging through their closets, discarding old clothing in exchange for a fresh, new look. Our snakes have done sort of the same thing, as many of them have recently shed! This delicate, dermatological discard still retains the pattern of the animal it came off of, making it a great study tool for budding zoologists. Unfortunately, it also tears pretty easily. Never fear, there is a way to preserve these delicate onion-skin like layers so they are durable for students of all ages! If you have access to some snakes and a laminator, you may want to try this out.
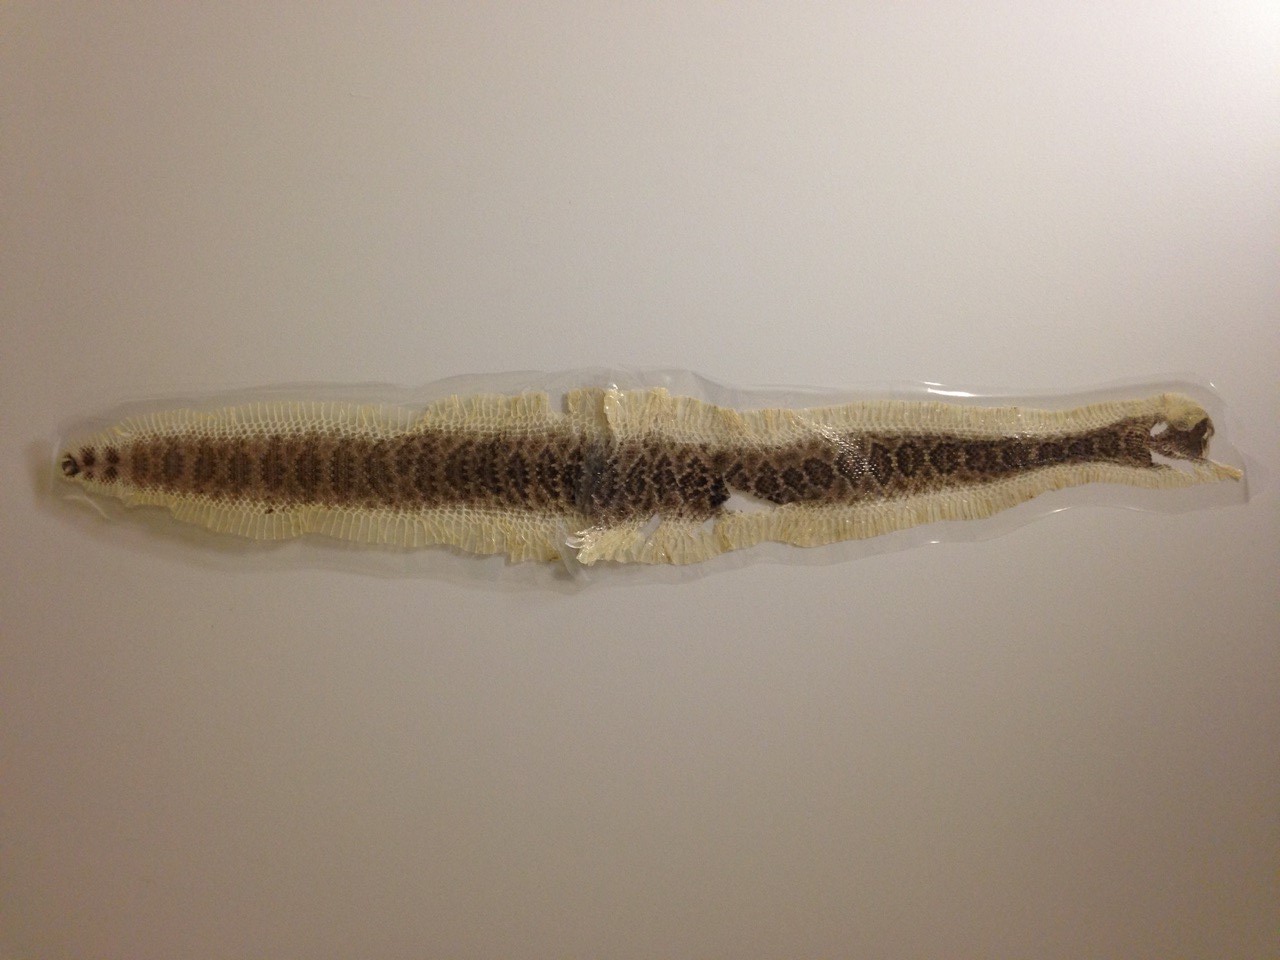
This is laminated skin from our Western Diamondback rattlesnake. The skin stretches out as it is laminated, making it slightly longer than the actual snake. This piece is 4 feet, 6 inches long; our live rattlesnake is slightly shorter. Exact measurement not included because YOU just try holding measuring tape up to a rattlesnake.
The skin actually came off in two pieces, which is great because then it is easier for a classroom to pass around!
Items you will need:
Laminator – please check with the owner of the laminator to ensure that they do not mind this strange use of the machine.
Sharp scissors that do not have a pointed tip
*Snake skin
Disposable gloves
Clorox wipes or sanitizing spray
Toothpicks – optional
Friend – also optional
I decided to use many teachers’ favorite tool – THE LAMINATOR. However, before I could use it I had to turn it on to get the heat going, which gave me prep time.
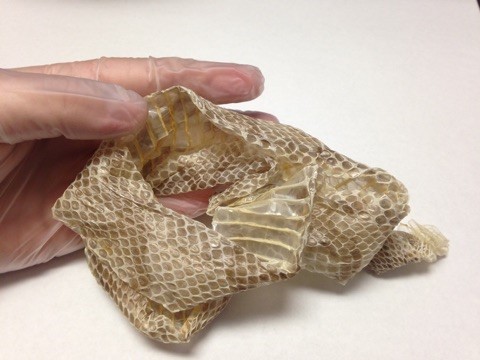
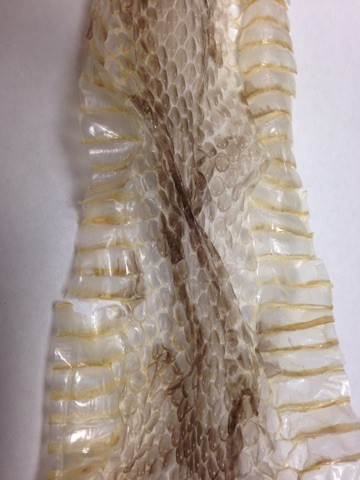
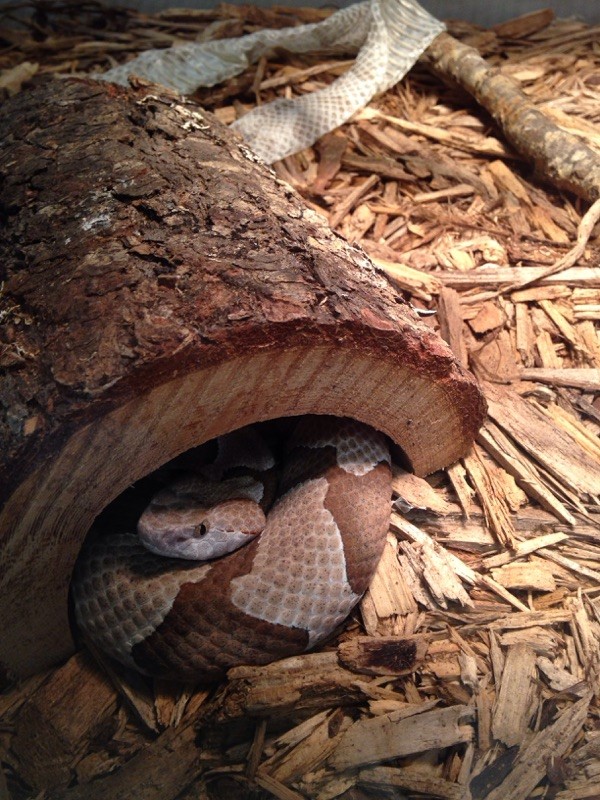
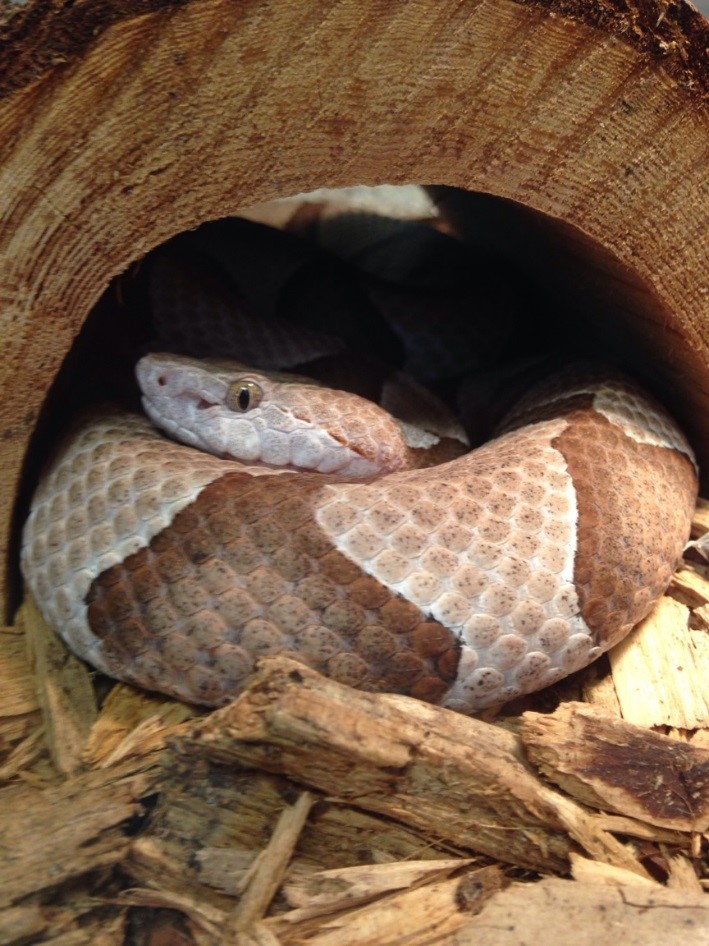
Specimen for today. Bonus points if you can already guess what snake it is!
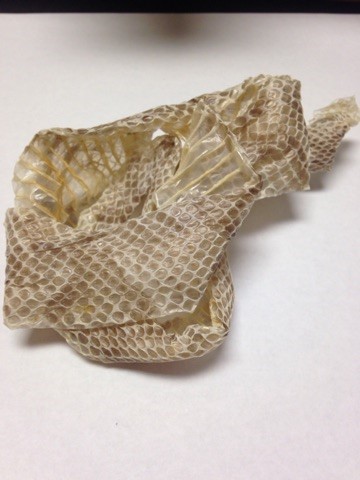
When a snake sheds, the skin has already been loosened through a process of fluid building up between the old skin and the new layer underneath. The fluid stretches the old skin out, and then is reabsorbed into the body. Snakes in this fluid stage tend to have a milky, bluish tone. Once the fluid is absorbed, the skin is clear and ready to come off. Snake skin is pulled off much like rolling a sock off your foot. Snakes will rub their face against a rough surface such as a rock, and once the skin has begun to come off they will slither forward out of it, using the rock to grab onto the old shed. The final result will be an inside-out tube that is of squished together in places. To display the pattern on the skin, we will need to flattened out completely.
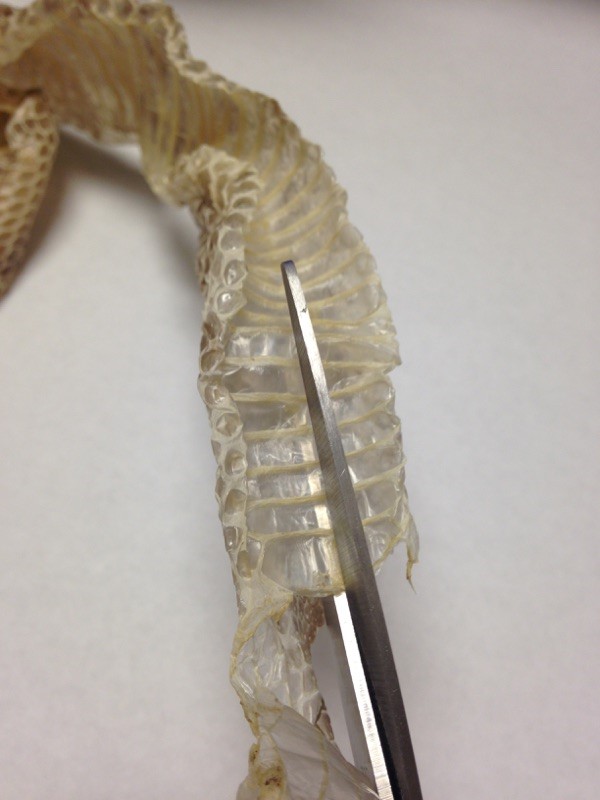
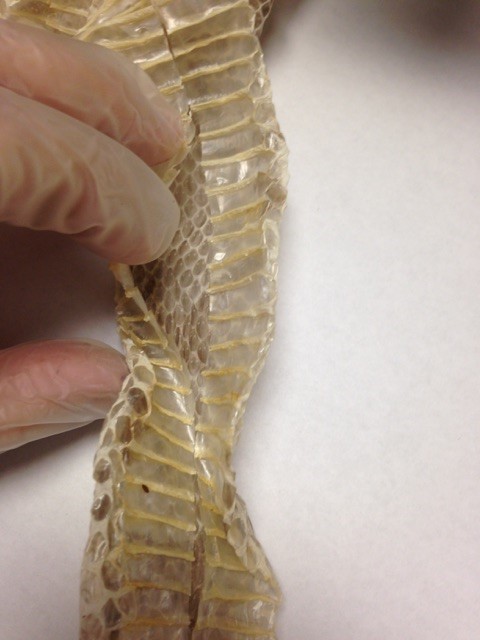
Before handling the skin, be sure to wear protective gloves. To flatten the shed out, the belly scales must be cut down the middle. Find any opening in the snake skin and start cutting down the midline of the belly. Be sure not to cut through both layers, just the belly scales.
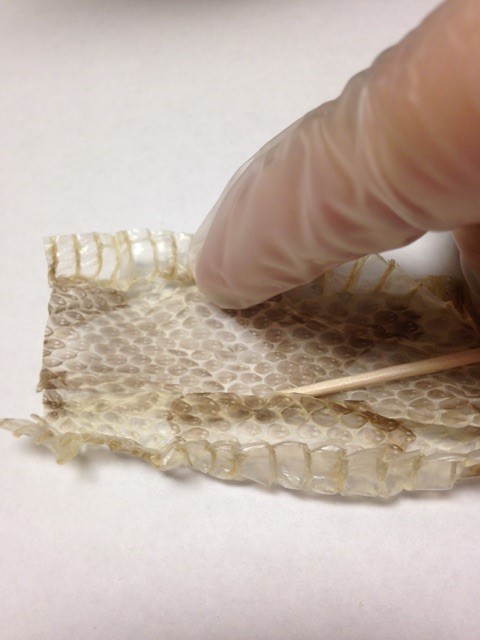
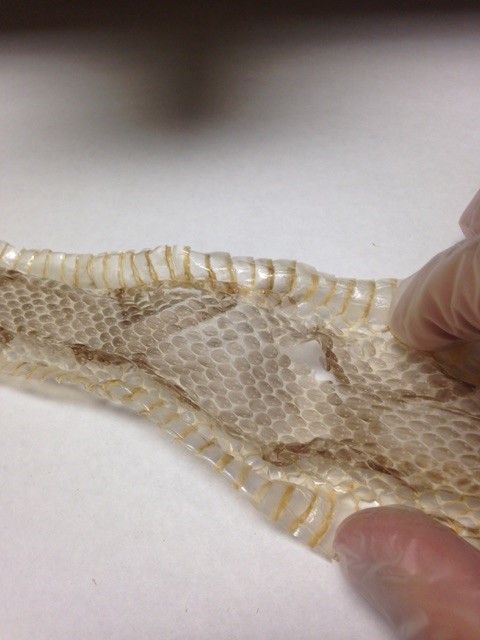
Once the belly is cut, start carefully flattening the skin out. Use a toothpick to manipulate smaller scales so you don’t rip the skin.
You’ll find that there are parts of the skin that do not want to separate, especially if it has been left out to dry for a while. Leave especially tough spots alone, as they will rip if you try to pull them apart.
Oops I…
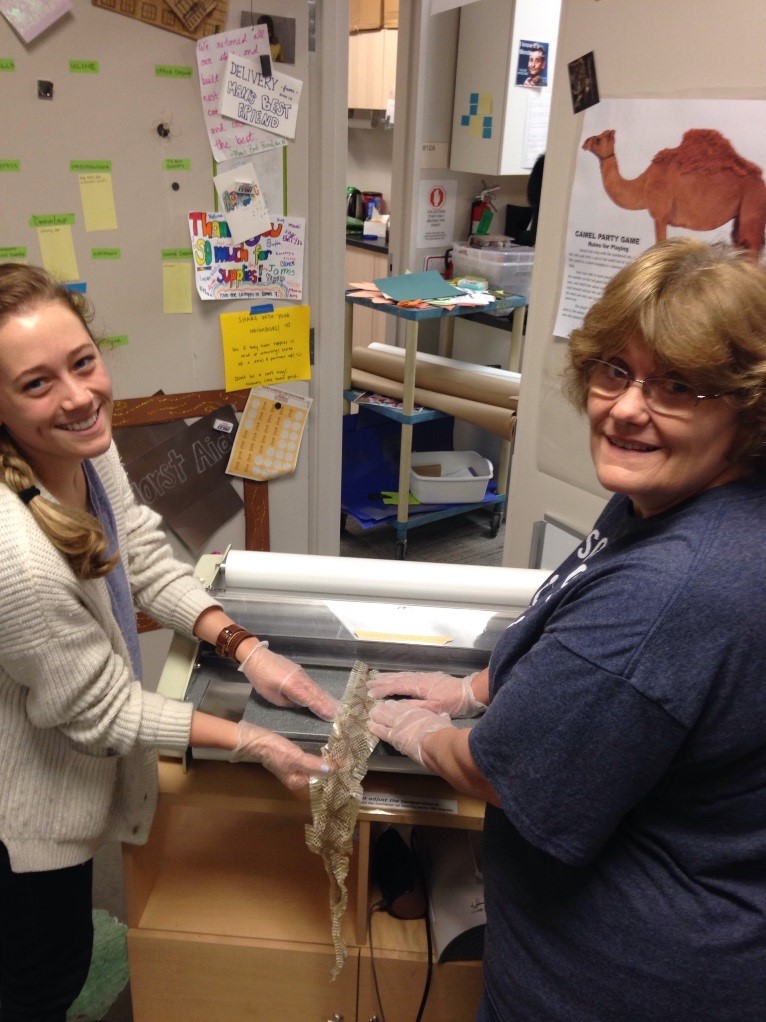
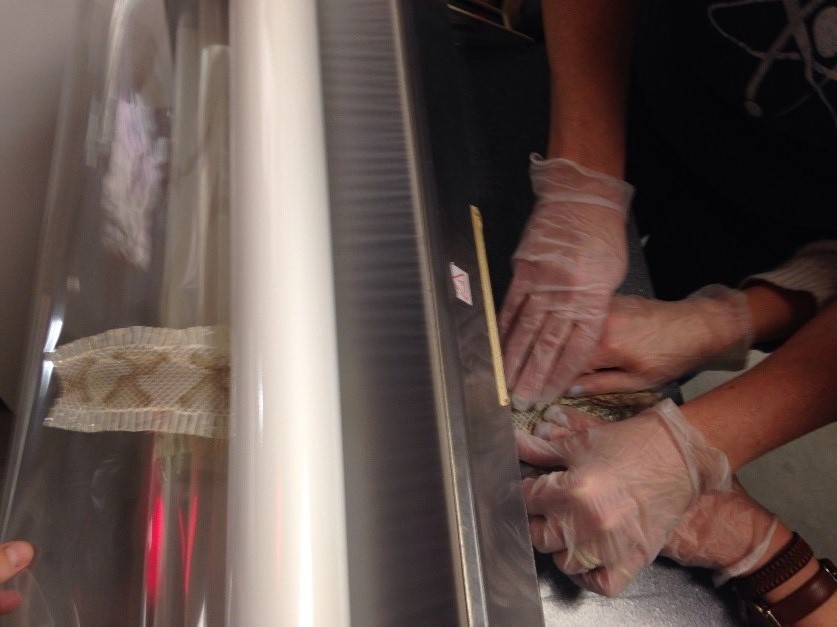
Once the skin is completely flat, it is ready to be laminated. The skin should be passed through the laminator just like a piece of paper. As the shed goes in the laminator, gently push down on the raised parts of the skin and manipulate it to keep it as flat as possible going into the machine. This step is easier with a friend, especially for larger snake skins.
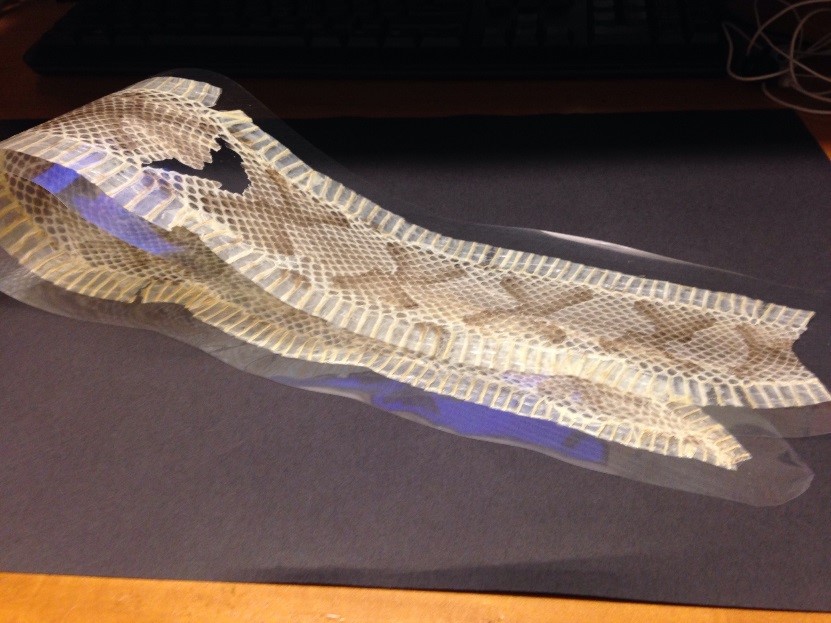
The flattened out skin will still curl on its own without being held down
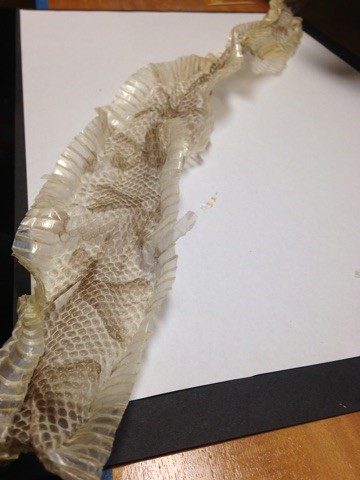
Now that it is laminated, trim around the skin and it is ready to go! Use sanitizing spray or wipes to clean your area, the scissors, and the newly laminated skin.
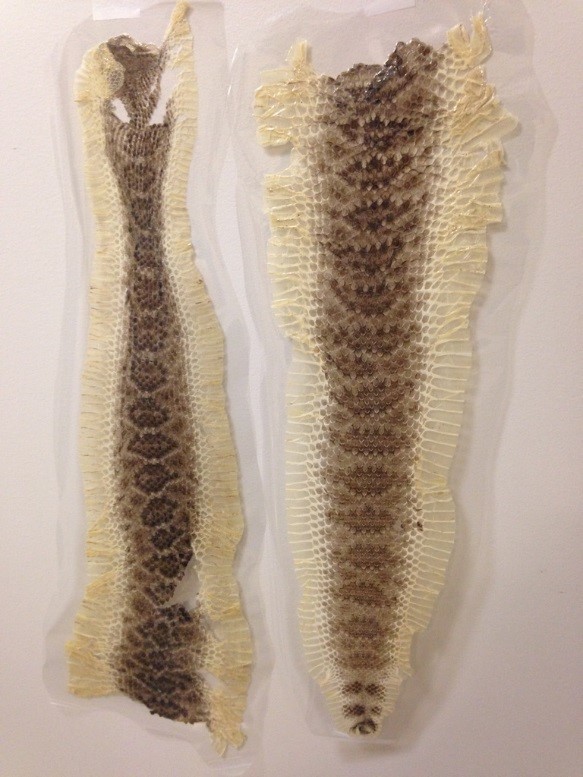
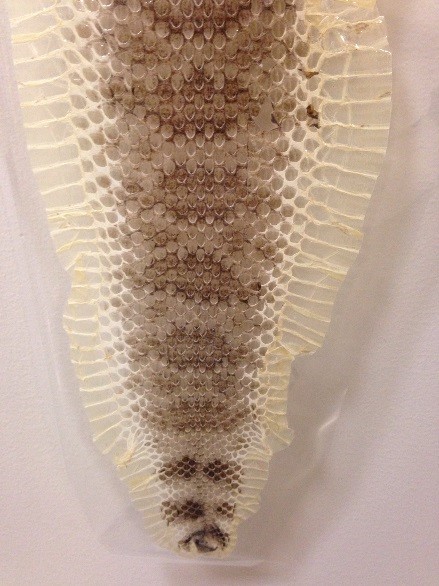
If you guessed that this piece belonged to a copperhead due to the hourglass pattern, good job!
So fresh, so clean
*Always be careful when handling animal specimens. Even captive snakes have the ability to carry harmful bacteria such as salmonella. Be sure wear gloves when handling unlaminated specimens and disinfect your tools and area thoroughly afterwards. If you use your phone to snap photos of the process so you can brag about it, be sure to sanitize that too!
Our education department is a creative bunch! They are always coming up with the neatest educational activities. And the kids that get involved in our Xplorations Summer Camps and Scout Programs get exposure to all of these great experiences. So check them out!


