
Get Curious with HMNS Adult Education
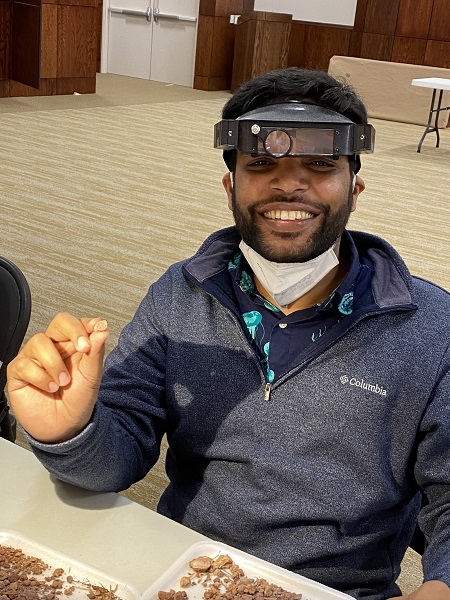
The Houston Museum of Natural Science is full of history, science and culture, as one might expect, but are you aware of the many opportunities to step behind the scenes and discover your very own fossils or travel the world alongside educators? I recently stumbled into a real fossil preparation event featuring none other than […]